That frustrating shot that sailed offline? It might not be your swing. It could be your clubs. Knowing how to clean golf clubs is more than just fussy maintenance; it’s one of the simplest, most effective ways to get your game back on track by restoring the spin and control your clubs were designed for.
- Why Clean Golf Clubs Are Your Secret Weapon
- Assembling Your Club Cleaning Toolkit
- The Best Way to Deep Clean Your Irons and Wedges
- Gently Cleaning Your Woods, Hybrids, and Putter
- How to Revive Your Golf Grips for Better Control
- Maintaining Your Clubs Between Rounds
- Mastering the Basics of How to Clean Golf Clubs
- FAQ's
Why Clean Golf Clubs Are Your Secret Weapon
Let’s be real—cleaning your clubs after a long, hot round feels like a chore. You’re tired, maybe a little frustrated with your score, and the last thing you want to do is scrub dirt out of tiny grooves. But what if spending just five minutes on it could directly lead to better shots and lower scores?
It’s not an exaggeration. It all comes down to physics.
When you strike the ball, the grooves on the clubface are engineered to grip it, creating the backspin you need for control. Spin is what lets you manage your ball’s flight, stop it quickly on the green, and nail those consistent distances with your irons and wedges.
The Real Impact of Dirty Grooves
Over the course of a round, those all-important grooves get packed with dirt, sand, and grass clippings. This gunk creates a smooth, slick barrier between the clubface and the ball, killing the friction needed for proper spin.
What does that actually mean for your game?
- Zero-Spin “Flyers”: Clogged grooves can’t grip the ball, which often results in shots that fly much farther than you expect but have absolutely no stopping power. They’ll sail over the green instead of checking up.
- Wildly Inconsistent Distances: That layer of debris messes with how the ball launches off the face. This leads to unpredictable yardages, especially with your scoring clubs like wedges and short irons.
- Poor Accuracy: Without spin, the ball is far less stable in the air. It becomes more vulnerable to wind and is much more likely to end up way off your target line.
Believe it or not, keeping your clubs clean can improve your shot accuracy and distance by up to 10%. Yet, surveys show that a staggering 70% of amateur golfers don’t clean their clubs regularly, which can actually shorten a club’s functional life by up to 30%. You can dig into more performance insights on how club care affects your game over at accio.com.
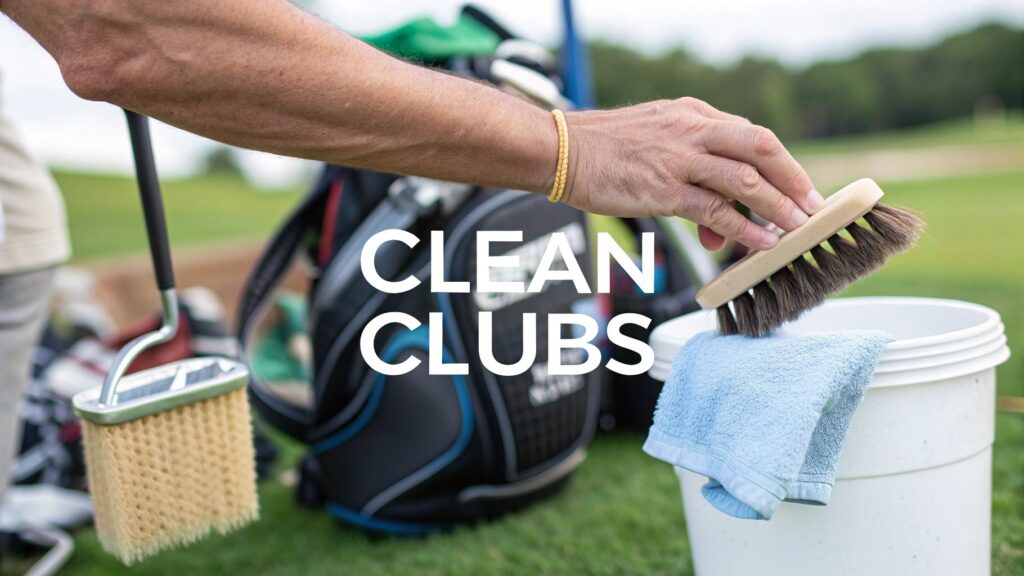
Assembling Your Club Cleaning Toolkit
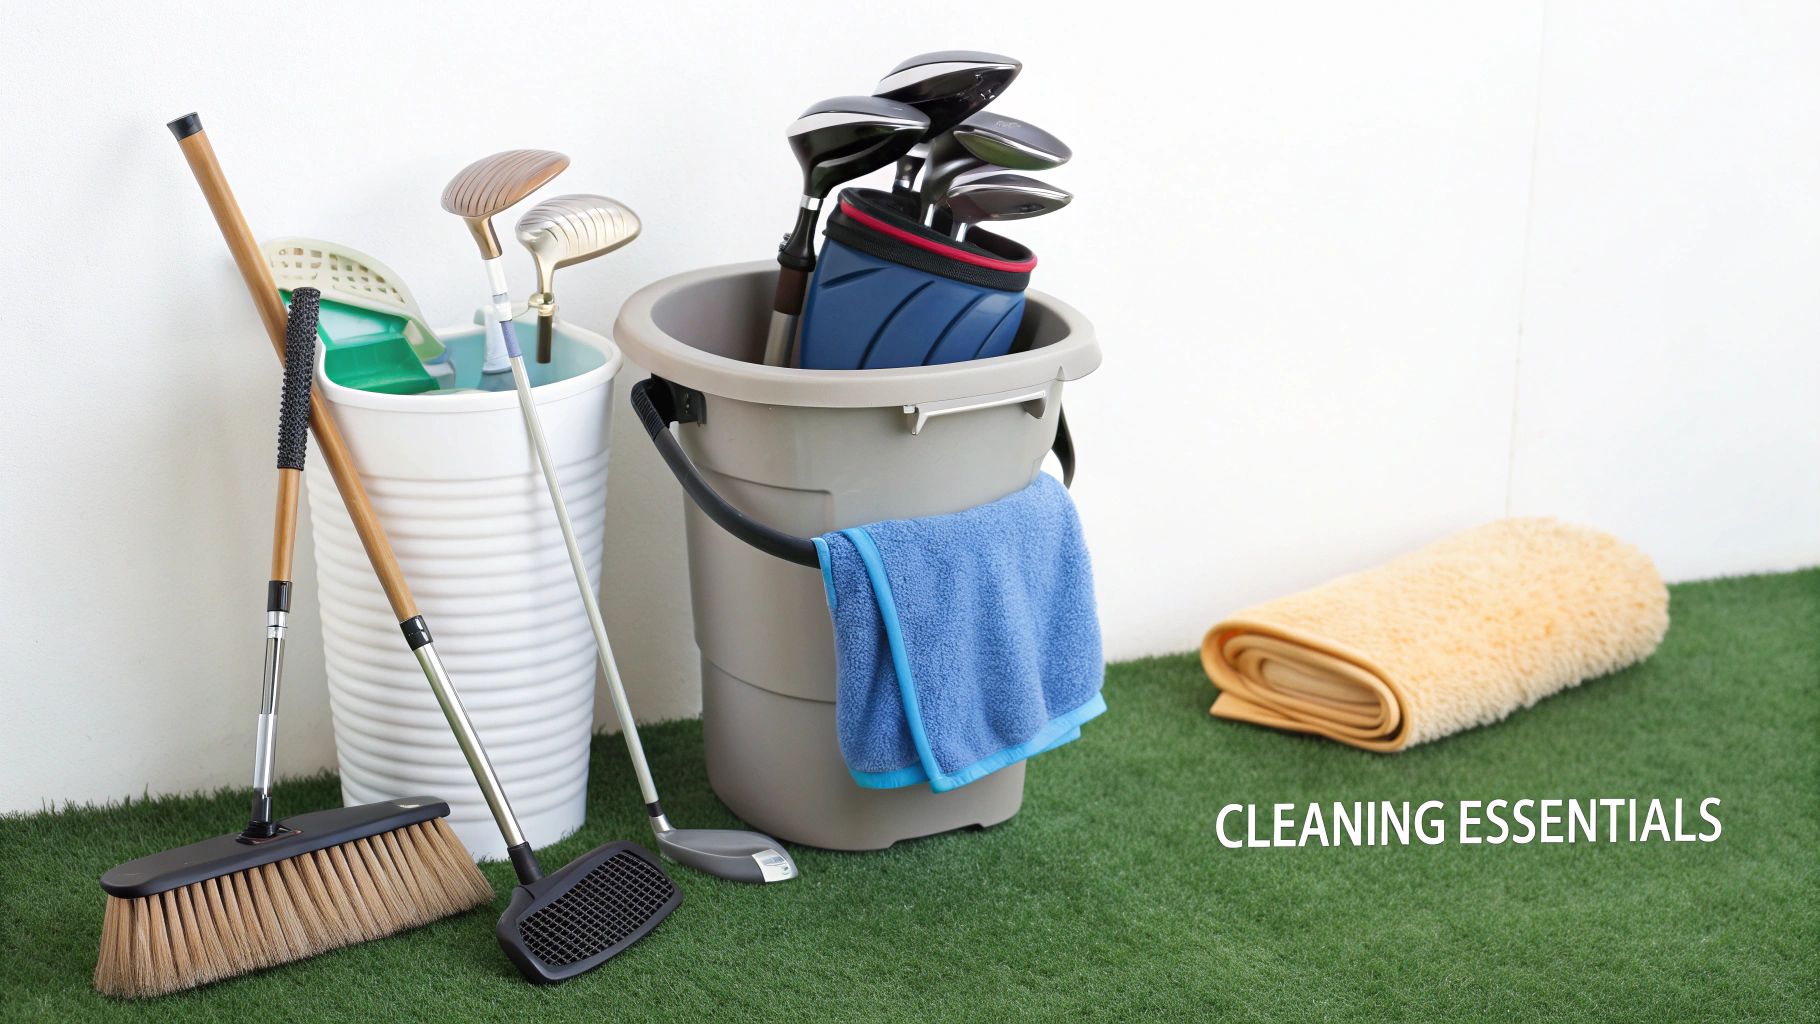
You don’t need a pro-level workshop to get your clubs looking brand new. In fact, you probably have almost everything you need tucked away in a garage cabinet or under the kitchen sink right now.
Getting all your gear together before you start is a simple move that makes the whole process faster and way more effective. Your basic toolkit is just a bucket, a couple of brushes, some old towels, and a gentle cleaning solution. Think of it like prepping your ingredients before cooking a meal—it just makes everything go smoother. If you want some ideas for organizing your setup, checking out a comprehensive supplies list for detailing can give you a good starting point.
Choosing the Right Gear
Let’s get into the specifics of what you need. Each piece has a job to do, and using the right tool not only cleans better but also protects your investment.
- A Medium-Sized Bucket: Grab a plastic or rubber bucket that’s deep enough to fully submerge your iron heads. The key is to avoid getting water up to the ferrules—that little plastic ring where the head joins the shaft. If water seeps in there repeatedly, it can weaken the epoxy holding everything together.
- Two Types of Brushes: You’ll need a soft-bristle brush (an old toothbrush is perfect) for your woods and hybrids. For the serious mud and grime in the grooves of your irons and wedges, a stiff-bristle nylon brush or one with brass wires is the ticket. It’s tough enough to dig out dirt but won’t scratch the clubface.
- Old Towels: Have at least two ready to go. You’ll use one for the initial, messy drying phase and a second, clean one for the final polish to make them shine.
A simple mix of warm water and a few drops of mild dish soap is all you really need. It’s strong enough to cut through the grime and oils from the turf but gentle enough to be safe on your club’s finish.
This focus on proper club care isn’t just for amateurs. The pros know that clean gear performs better. It’s no surprise the global golf equipment market was valued at USD 8.13 billion in 2023, with cleaning kits and accessories seeing significant growth. Even at the course level, nearly half (49.2%) of accessory budgets are dedicated to equipment maintenance, showing just how crucial clean clubs are to the game.
The Best Way to Deep Clean Your Irons and Wedges
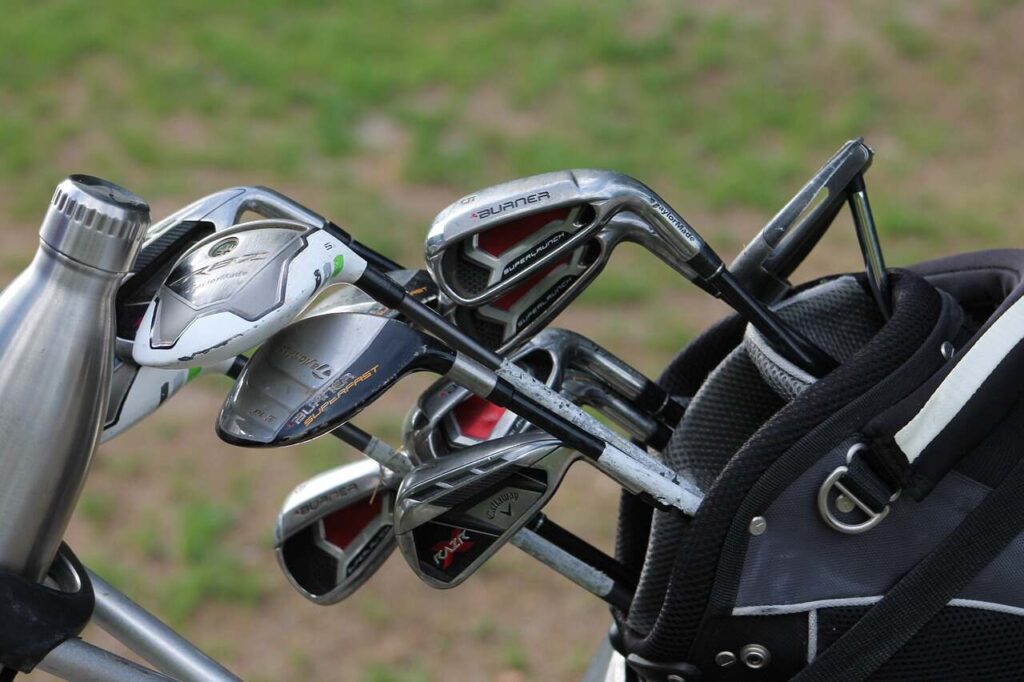
Your irons and wedges are the real workhorses in your bag. They’re constantly digging balls out of the rough, sticking tight approach shots, and as a result, they pick up the most dirt and grime. A proper deep clean is your ticket back to that crisp, pure contact and all the spin you can handle.
The process starts with a simple soak. Grab a bucket and fill it with warm water—not hot. Hot water can sometimes loosen the ferrule (the little black plastic piece where the head meets the shaft), so sticking to lukewarm is the way to go. Add just a couple of drops of a mild dish soap.
Let the heads of your irons and wedges sit in the water for about five to ten minutes. It’s crucial that you only submerge the clubhead itself. Keep the ferrule and the shaft completely dry. This quick bath is all it takes to soften up even the most stubborn, caked-on mud from a soggy day on the course.
Getting the Grooves Perfectly Clean
Once the grime has had a chance to soften, it’s time to get scrubbing. Take your stiff-bristle brush and get to work on the clubface, really focusing your effort on the grooves. You’ll want to use firm pressure to clear out every single channel, but don’t go overboard and start scratching things.
If you find some stubborn dirt still packed deep inside a groove, a regular wooden golf tee is your best friend here. The soft wood is perfect for gently scraping out that last bit of compacted gunk without any risk of scratching the metal. It’s a much smarter choice than reaching for a metal tool or wire brush.
This straightforward method is incredibly effective for getting your irons and wedges back into prime playing condition. The infographic below really simplifies the whole process.
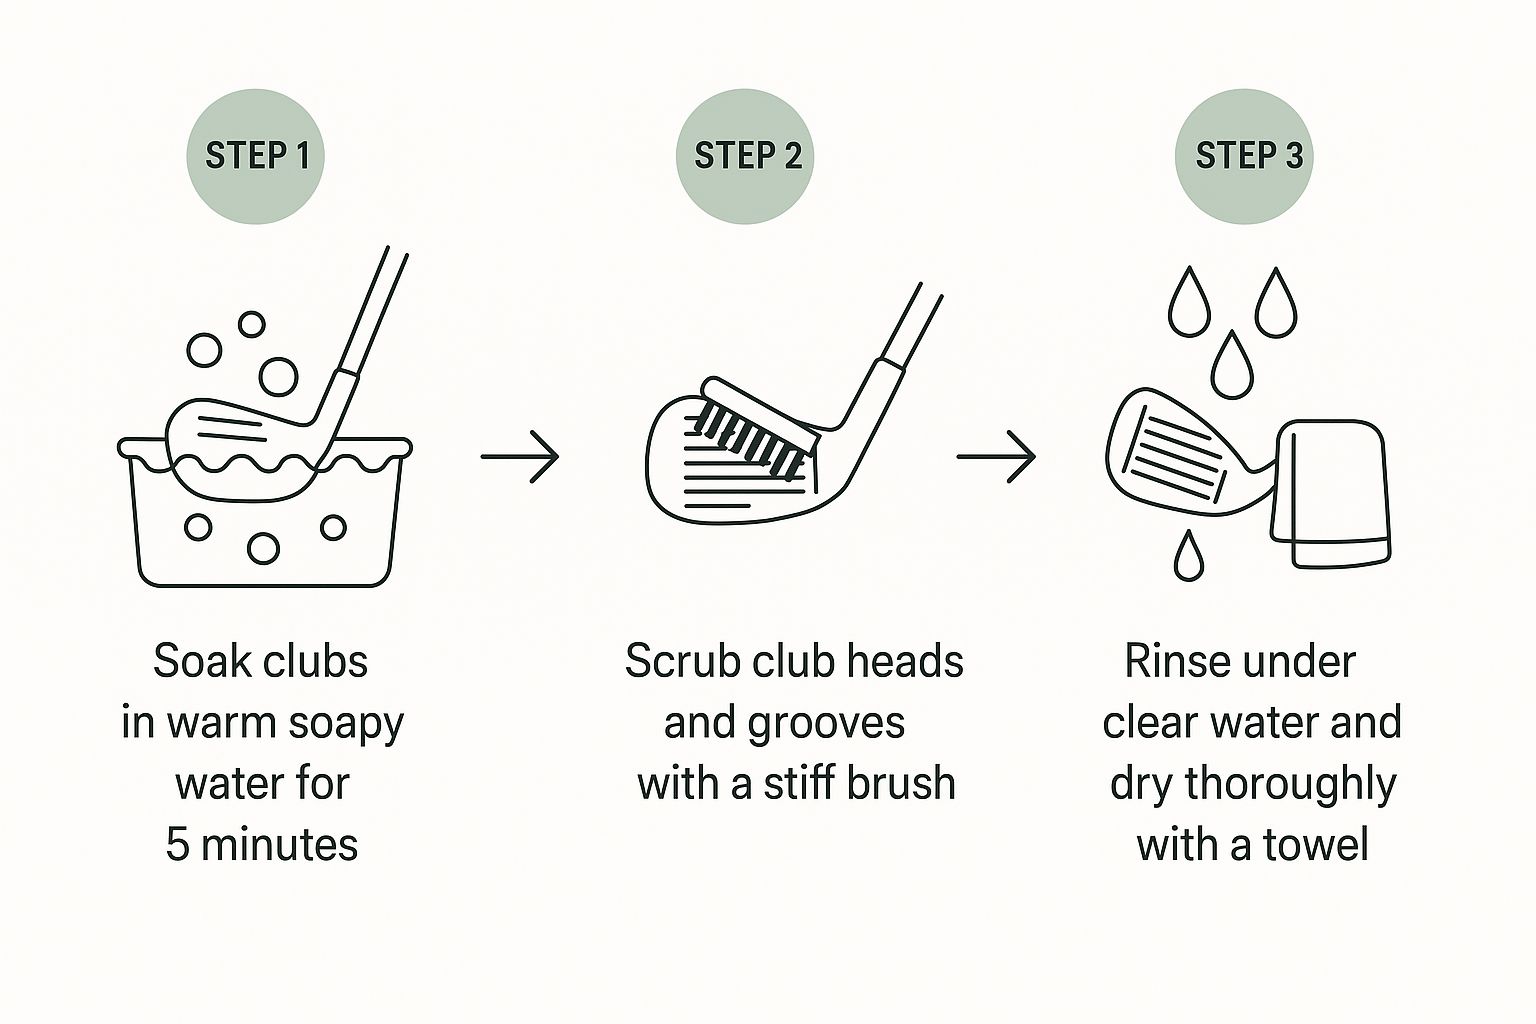
As you can see, it’s really just three key actions: a quick soak, a detailed scrub, and a thorough dry. Following these steps gets rid of all that performance-robbing dirt without doing any harm to your clubs.
The Final Rinse and Dry
After you’re done scrubbing, give each clubhead a good rinse under some cool, clean running water. You want to make sure you wash away all the soap and any bits of dirt you loosened up. This might seem like a small detail, but leftover soap can actually attract more dirt down the road.
The most critical step is drying your clubs immediately and thoroughly. Use a clean, dry towel to wipe down the entire clubhead, paying extra attention to the grooves and any cavities on the back. Any moisture left behind is an open invitation for rust to form, especially on forged carbon steel wedges. A proper dry keeps them pristine.
Gently Cleaning Your Woods, Hybrids, and Putter

While a good soak works wonders for your irons, giving your woods, hybrids, or putter the same treatment is a recipe for disaster. These clubs need a much gentler approach. Submerging them can cause some serious—and often expensive—damage.
The hollow construction of modern drivers, fairway woods, and hybrids makes them surprisingly vulnerable. Water can sneak into the clubhead through tiny gaps, leading to internal rust or that dreaded dead, rattling sound that completely ruins the feel of the club.
On top of that, the high-gloss paint and clear coat finishes are far more delicate than the raw steel of an iron. They can be easily damaged by soaking them in water or scrubbing too hard.
The process for these clubs is thankfully simple and fast. All you need to do is dip a soft towel into your bucket of warm, soapy water and wring it out until it’s just damp.
A Softer Touch for Woods and Hybrids
With your damp cloth, gently wipe down the entire clubhead—the crown, face, and sole. This is almost always enough to get rid of any grass stains, light dirt, or smudges from the face.
If you come across a stubborn bit of dirt stuck in the shallow grooves, just use a soft-bristle brush (an old toothbrush is perfect) to lightly flick it out. You should never, ever use a wire brush on these clubs. It will scratch and permanently ruin the finish.
Once clean, just wipe everything down with a completely dry towel to finish the job.
Pro Tip: Pay close attention to the area where the face meets the crown. Dirt loves to collect right along this painted edge. A gentle wipe with your damp cloth is the safest way to clean this spot without risking a chip in the paint.
This careful method ensures your most expensive clubs stay in pristine condition. For your putter, the approach is very similar, but with a special focus on preserving its most sensitive feature: the face. Protecting that delicate milling or soft insert is absolutely critical for maintaining a true, consistent roll on the greens.
How to Revive Your Golf Grips for Better Control
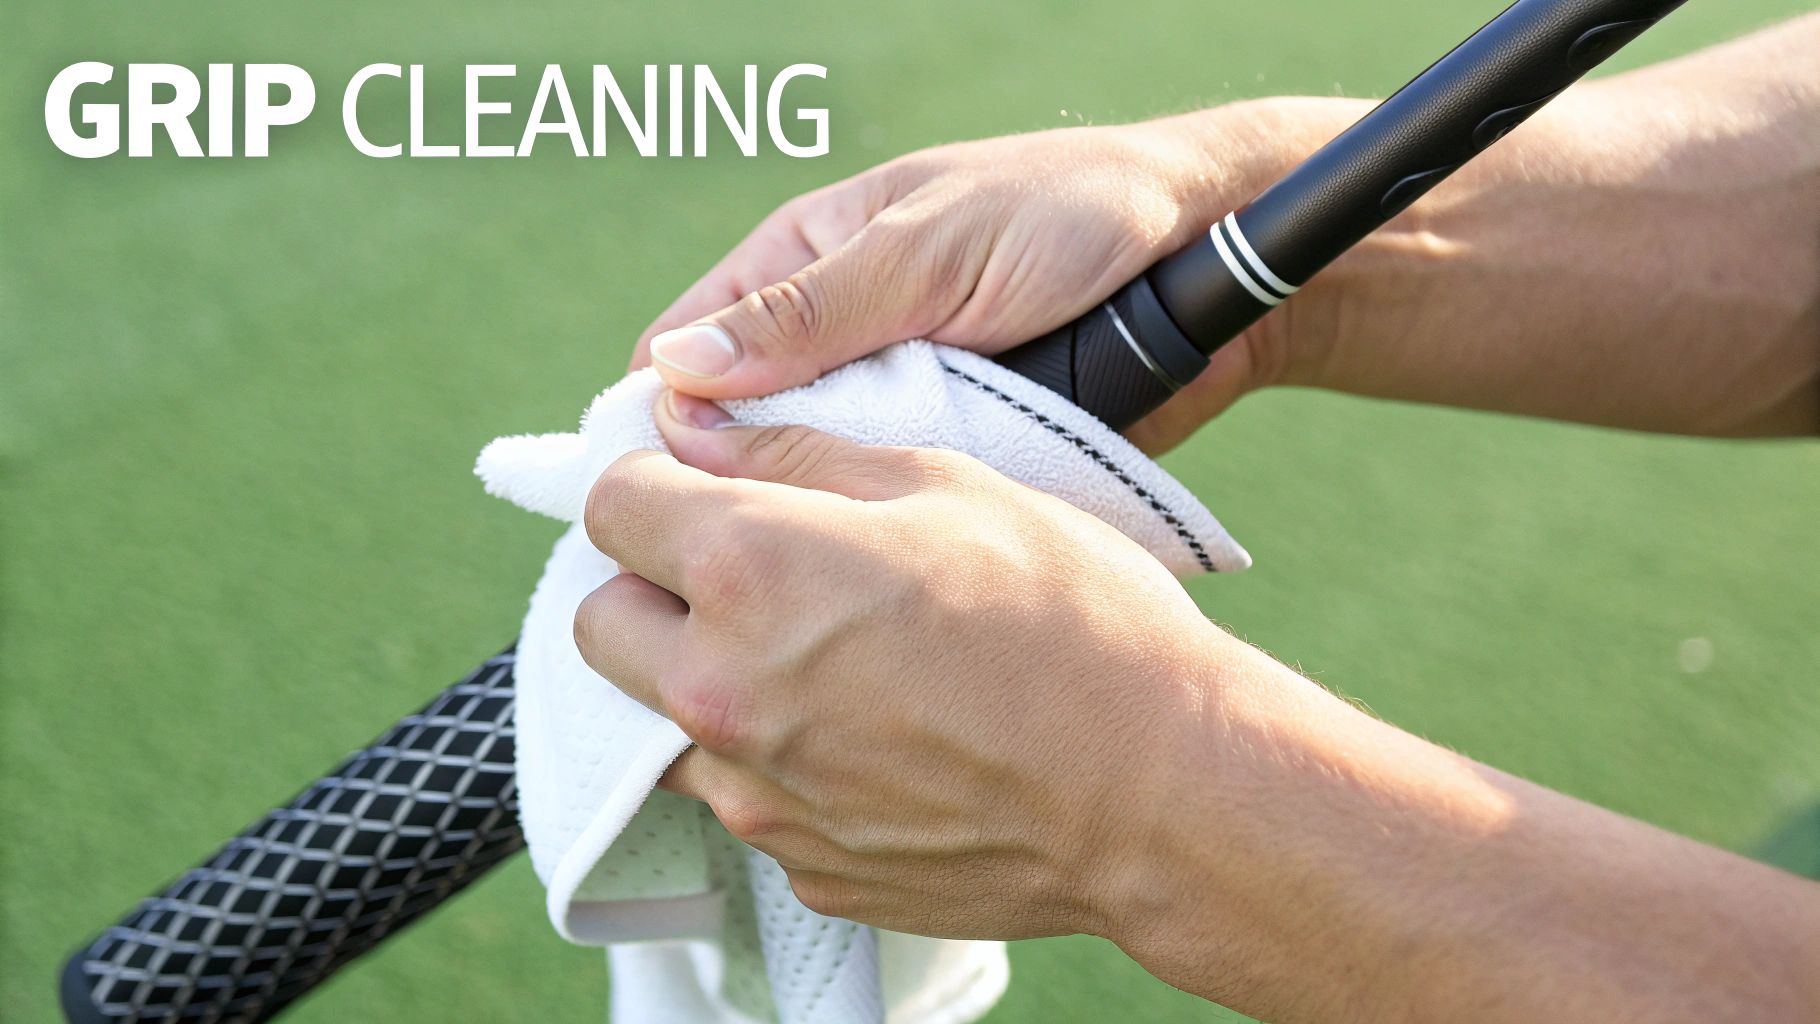
Your grips are the only point of contact you have with the club, but let’s be honest—they’re almost always the most neglected part. Over time, they collect a slick film of sweat, sunscreen, and grime from your hands, turning them tacky in all the wrong ways.
When a grip loses its traction, your gut reaction is to squeeze harder. That extra tension is a total swing-killer. It creeps up your arms and into your shoulders, wrecking your tempo and preventing a smooth release through impact. Bringing back that original tackiness is a simple fix that pays off big time on the course.
Cleaning All Grip Types
The good news is that just about every modern grip—from standard rubber to fancy multi-compound or corded styles—can be cleaned the same way. All you need is that bucket of warm, soapy water and a soft-bristle brush or a clean towel.
- You can either submerge just the grip in the water or simply run it under a tap to get it wet.
- Put a little bit of your soap solution directly onto the grip.
- Now, gently scrub the entire surface with your brush or towel. You’ll see the dirt and oils start lifting away almost instantly.
After a quick scrub, rinse the grip well with clean water to get all the soap residue off. Any soap left behind will just make the grip slick all over again once it dries. If you’re looking to really dial in your fundamentals, check out this hand-by-hand guide on the importance of grip to go along with your freshly cleaned clubs.
Pro Tip for Drying: Once rinsed, wipe the grips down with a dry, clean towel. Then, lean the clubs upside down against a wall with the heads facing up. This simple step stops water from trickling down the shaft, which could loosen the grip tape or cause rust underneath. Let them air-dry completely before sliding them back in your bag.
Maintaining Your Clubs Between Rounds
A deep clean is great for hitting the reset button on your clubs, but the real secret to consistent performance isn’t a massive monthly project. It’s all about the small, simple habits you build into your regular golf routine.
Think of it like brushing your teeth. Wiping down your clubs after each shot takes just a few seconds, but that little bit of preventative care stops major gunk from building up in the first place. This tiny effort drastically cuts down on the heavy lifting you’ll have to do later and keeps your clubs playing their best.
This proactive approach means your grooves are always clean and ready to grab the ball. That’s how you get the spin and control you need, especially on those critical shots into the green.
On-Course Habits for Better Performance
The best time to clean a club is right after you hit it. The dirt and grass are still fresh and haven’t had a chance to dry and bake into the grooves. That’s why keeping a clean, damp towel hanging from your bag isn’t just a suggestion—it’s non-negotiable.
- Wipe After Every Shot: As you’re walking off the tee or heading back to the cart, just give the clubface a quick, firm wipe. This simple action removes almost all of the loose grass and dirt.
- Use a Groove Tool: For those shots out of the bunker or some nasty rough, you’re bound to get some sand or mud packed in there. Use the sharp end of a tee or a groove brush to quickly clear out those channels.
Stepping up to the ball knowing you have a perfectly clean clubface is a huge confidence booster. You’ve eliminated one more variable, trusting that your equipment is ready to perform exactly as it was designed.
Post-Round Preventative Care
Before you even think about throwing your bag in the trunk, take just two minutes for a final check. This quick wipe-down is your best defense against moisture and dirt sitting on your clubs, which is what leads to rust and long-term damage.
Wipe down every clubhead and shaft to get rid of any leftover debris or dampness from the course. It’s also a good idea to give the grips a quick wipe to clear off any sweat, oil, or sunscreen. This habit not only makes your gear last longer but also keeps your bag from getting filthy inside.
A well-kept set of clubs is the centerpiece of a tidy setup. If you want to take it a step further, check out these tips on how to organize a golf bag to complete your system. It makes finding the right club a breeze and protects your equipment while you’re on the move.
Mastering the Basics of How to Clean Golf Clubs
FAQ’s
Even with a solid cleaning routine, some specific questions always come up. Think of this as your go-to guide for those nagging uncertainties and tricky spots. Let’s tackle some of the most common things golfers ask.
How Often Should I Really Clean My Golf Clubs?
This is the big one, and the honest answer is: it depends on how much you play and where. For the best possible spin and control, you should make it a habit to give the clubface a quick wipe with a towel after every single shot. It takes two seconds and makes a huge difference.
A more thorough cleaning of the clubheads and grooves is a great idea after every round, especially if you played in wet, muddy, or sandy conditions. As for a deep clean that includes reviving your grips? Aim to do that every 4-5 rounds, or at least once a month. This stops that slow, sneaky buildup of grime that kills performance over time.
Can I Just Use Household Cleaners Like Windex?
It’s tempting to just grab a bottle from under the sink, but please don’t. You should absolutely avoid harsh household chemicals like Windex, bleach, or anything abrasive. These products can easily strip the protective finish right off your woods and hybrids, causing cosmetic damage you can’t undo.
They’re also terrible for your grips. Harsh chemicals will break down the sensitive rubber compounds, making them hard, brittle, or slick. All you need is a simple bucket of warm water with a few drops of mild dish soap—it’s safe for every part of your club and more than strong enough to get the job done.
Here’s my rule of thumb: If you wouldn’t use it on your car’s paint job, don’t use it on your clubs. Sticking to mild soap and water is the safest and most effective play.
What’s the Best Way to Remove Small Rust Spots?
Seeing a little rust pop up, especially on forged wedges or older steel shafts, can be scary, but it’s usually an easy fix. For light surface rust, your best friend is a pad of #0000 super-fine steel wool.
Just apply a small amount of white vinegar or a dedicated chrome polish to the steel wool and gently buff the rusted area. I like using a small circular motion with light pressure, checking my progress every few seconds. Once the rust is gone, rinse the spot with clean water and—this is the most important part—dry it completely. If you leave it damp, the rust will just come right back.
At Golf Inquirer, we believe that taking care of your equipment is a direct path to a better, more enjoyable game. For more tips, course reviews, and gear guides to fuel your passion, visit us at https://golfinquirer.com.