Spending hours on the practice green without seeing your scores drop is a story I hear all the time. You roll putt after putt, convinced you’re putting in the work, but come the weekend, it’s the same frustrating scorecard.
The problem isn’t your effort; it’s your focus. Aimlessly hitting putts from all over the green is one of the biggest time-wasters in golf. It feels like practice, but it doesn’t build the specific skills you need when the pressure’s on. Real improvement comes from practicing with a purpose.
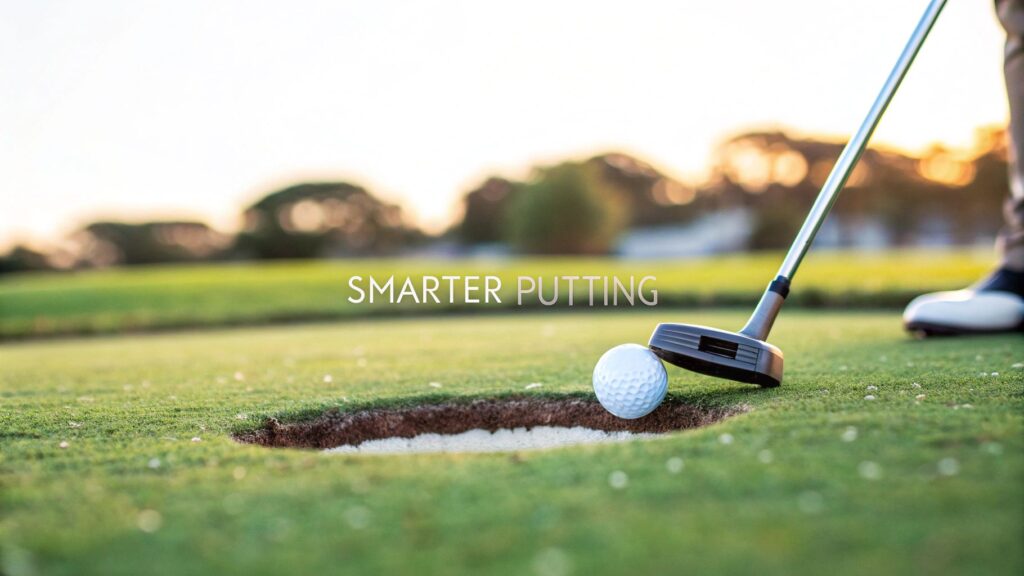
Why Your Practice Time Isn’t Paying Off in Golf
If your warm-up involves just dropping a few balls and trying to “get a feel for the greens,” you’re missing the point entirely. While lag putting is a skill, it’s not where the average golfer loses the most strokes.
The shots that truly matter—the ones that save pars and convert birdies—are the nerve-wracking putts inside 15 feet. You wouldn’t study for a final exam by flipping to random pages in the textbook, right? You’d focus on the key chapters. Putting practice should be approached the same way.
“The difference between an average putter and a great putter isn’t making every 30-footer. It’s the relentless consistency from inside 10 feet that truly separates them.”
Where Golf Strokes Are Really Lost and Gained
Let’s look at the hard numbers. Putting accounts for roughly 40% of all strokes for most amateur golfers. But the real story is where those putts are coming from.
Data from over 12,000 rounds shows that a massive 68% of putting opportunities for the average player happen within 15 feet. Even more telling? 41% of all putts are from inside 5 feet. If you want to dive deeper, you can learn more about these putting performance findings and how they can shape your strategy.
The data is crystal clear: if most of your practice isn’t dedicated to these high-frequency, score-saving distances, you aren’t practicing smart. Building rock-solid confidence over a 5-footer will do more for your scores than occasionally draining a 50-foot bomb.
Most golfers waste time on long, low-percentage putts instead of mastering the distances where scores are truly made or broken. The table below breaks down where you should be spending your time on the practice green for the fastest results.
Where to Focus Your Golf Putting Practice for Maximum Impact
| Putt Distance | Frequency for Amateurs | Recommended Practice Focus |
|---|---|---|
| 0-5 feet | 41% of all putts | 50% of your time. These are the must-makes. Focus on a repeatable stroke and perfect alignment. |
| 6-15 feet | 27% of all putts | 30% of your time. Work on starting the ball on your intended line. A miss here often comes from a poor read or bad start line. |
| 16-25 feet | 15% of all putts | 15% of your time. This is your lag-putting zone. The goal is to get it close, leaving a tap-in. Speed control is everything. |
| 25+ feet | 17% of all putts | 5% of your time. Practice these just enough to avoid three-putting. Focus solely on distance control and getting the ball into a 3-foot circle around the hole. |
By reallocating your practice to match the reality of the game, you stop guessing and start targeting the skills that directly lower your handicap. This strategic shift is the first real step toward making your practice time actually pay off on the scorecard.
Building Your Repeatable Golf Putting Setup
Before you even think about stroking a single putt, the real work begins. Your foundation for a killer putting stroke is built before the putter ever moves. A solid, repeatable putting setup isn’t about copying a pro’s textbook stance; it’s about discovering a balanced, comfortable position that you can return to time and time again.
This is the absolute bedrock of your golf putting practice. Without a stable base you can trust under pressure, you’re just guessing out there.
Think of it like building a house—you wouldn’t dare put up walls on a shaky foundation. Your grip, alignment, and posture are that concrete base. Get them right, and the rest of your stroke has a chance to be smooth and predictable.
Grounding Your Stance and Posture in Golf
Your putting stroke should feel like a simple pendulum, swinging effortlessly from your shoulders. But that pendulum needs a stable anchor, and that’s where your lower body comes in.
Start by getting your feet about shoulder-width apart. Make sure your weight feels evenly distributed on the balls of your feet, not back on your heels. You want to feel athletic yet relaxed, with a soft bend in your knees. This keeps your lower half quiet, preventing the swaying and shifting that absolutely kills distance control. The entire motion should come from rocking your shoulders, not from any hip or leg movement.
To get your posture right, bend from your hips, not your waist, letting your arms hang down naturally. The spot where your hands hang is precisely where they should grip the putter. If you feel like you’re reaching or feel cramped, your posture needs a quick adjustment.
Fine-Tuning Your Grip and Hand Position in Golf
The putting grip is all about one thing: removing unwanted wrist action. There are a million ways to hold a putter, from the classic reverse overlap to the funky claw grip, but they all serve the same purpose—to make your hands work together as a single, stable unit.
Your grip pressure should be light. On a scale of 1 to 10, think of it as a 3. A death grip introduces tension, making it impossible to develop any feel for the putter head.
Here are a few universal checkpoints, no matter what grip you use:
- Palms Facing Each Other: This is a simple but powerful check. Parallel palms help ensure the putter face stays square through the entire stroke.
- Thumbs Down the Shaft: Placing your thumbs straight down the top of the grip is a great way to stabilize the putter and gives you a visual cue for a square setup.
- Lifeline Connection: Many of the best putters feel the grip running through the “lifeline” of their palms. This encourages a stroke driven by your arms and shoulders, not your twitchy hands.
If you’re still looking for a consistent stroke, it pays to experiment. Our guide on essential putting techniques in golf dives deeper into finding the perfect hold for your game.
The Critical Role of Ball Position and Eye Alignment in Golf
Where the ball is in your stance has a huge impact on your ability to strike it with a slight upward motion—the key to getting a pure, true roll. For most players, the sweet spot is just slightly forward of center, directly under your lead eye (that’s the left eye for righties).
Not sure where your eyes are? There’s a simple trick for that.
- Get into your normal putting stance over a ball.
- Take a second golf ball and hold it on the bridge of your nose.
- Simply let it drop.
If that ball hits the one on the ground, you’re in business. Your eyes are perfectly positioned over the line. If it drops inside or outside, you need to adjust how far you stand from the ball.
Having your eyes directly over the ball is a game-changer. It eliminates parallax error, the visual distortion that can make a straight putt look like it breaks. This single adjustment gives you the truest possible view of your line.
This entire sequence—from your feet to your eyes—becomes your pre-shot routine. It’s a series of mental checkpoints that guarantees you’re in the same solid position every time. By making this automatic before you start your practice drills, you eliminate dozens of variables that lead to inconsistency, making every minute you spend on the green that much more effective.
Golf Drills That Build Confidence Inside 15 Feet
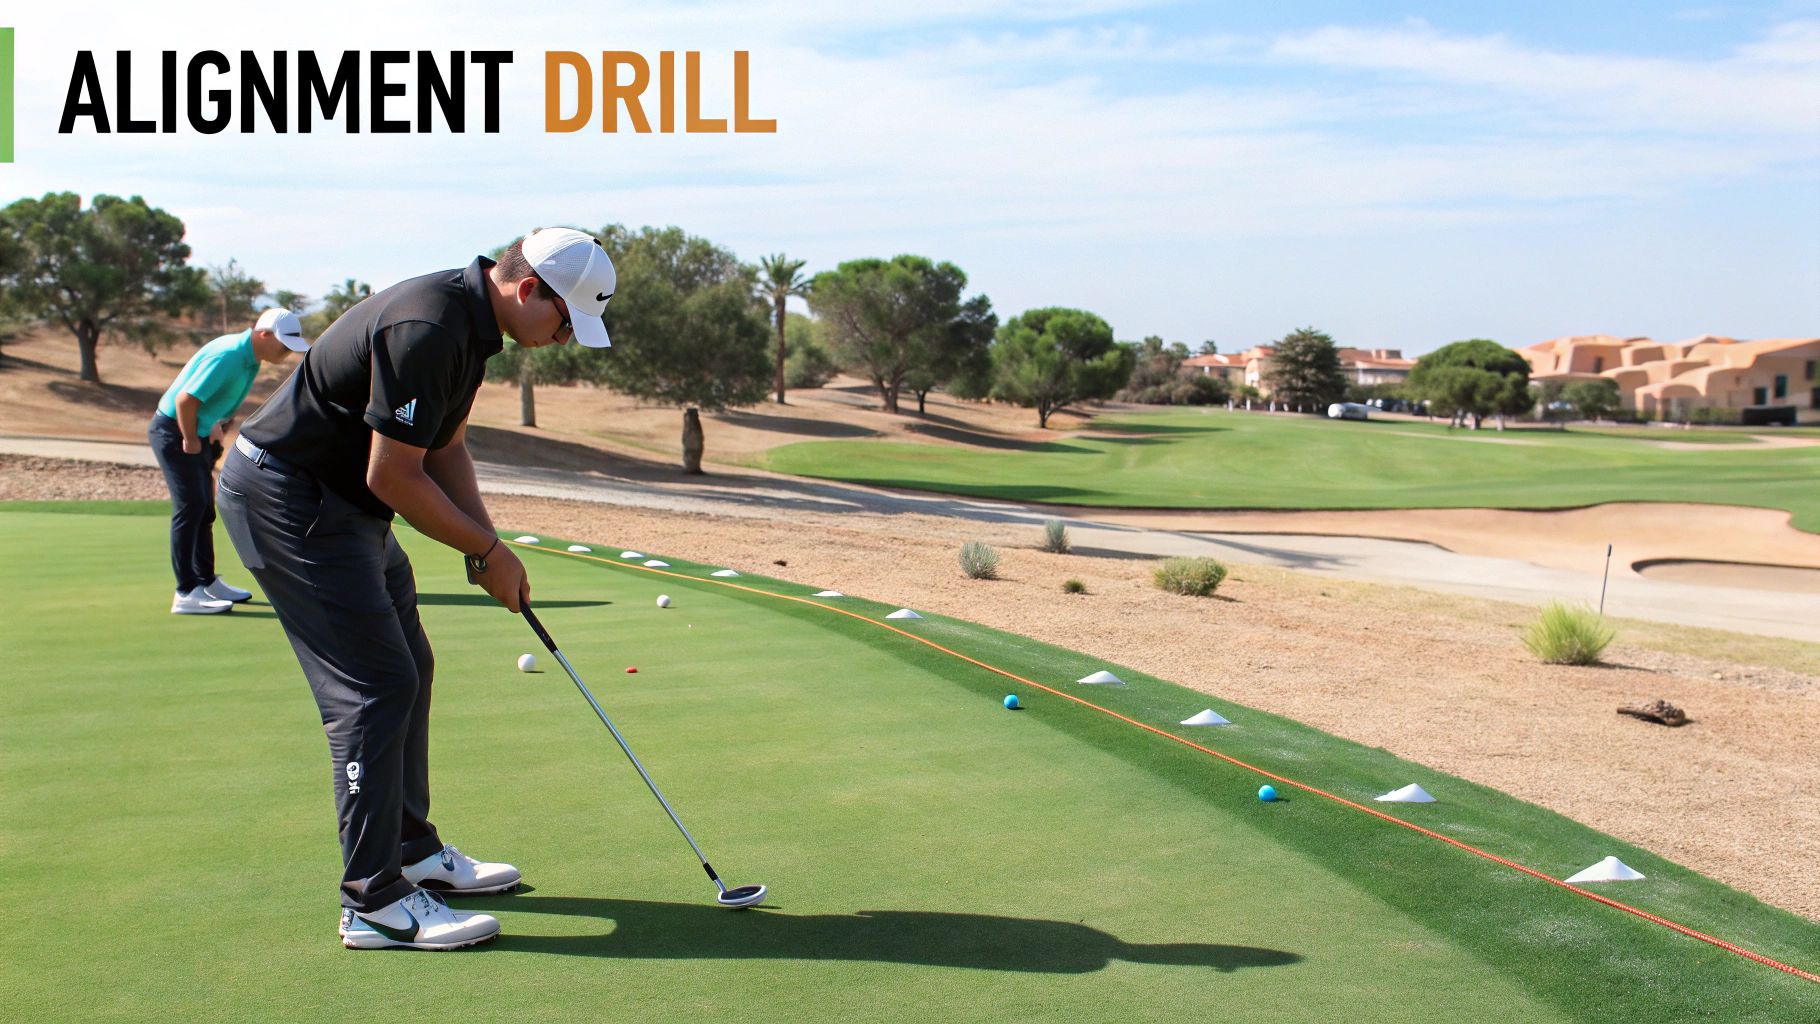
Once your setup is dialed in and feels second nature, it’s time to build the kind of confidence that saves rounds. That critical 15-foot range is where matches are won and pars are salvaged. This is the zone where you shift from hoping the putt goes in to expecting it to drop.
But this isn’t about mindlessly rolling balls at a hole. True golf putting practice demands specific drills that sharpen specific skills. Think of these as fun little challenges, not chores, designed to make you deadly when it really counts.
The reason we focus so much here is backed by cold, hard data. Short putting, especially from 3 to 7 feet, is one of the biggest separators between pros and amateurs, accounting for as much as 46% of strokes lost. On the PGA Tour, the make percentage from 8 feet is a coin flip at roughly 50%, but it plummets to just 23% at 15 feet. That’s a huge drop-off and a massive opportunity for you. You can discover more insights about how putting impacts scores over at worldwide.golf.
These numbers spell it out clearly. By dedicating time to the drills below, you’re not just practicing—you’re strategically attacking the weakest link in the average golfer’s game.
The Gate Drill for a Pure Roll in Golf
If you find yourself constantly pushing or pulling putts, the culprit is almost always your putter face at impact. The Gate Drill is the single best way to get instant feedback and ensure your ball starts exactly on its intended line.
It’s beautifully simple. Find a straight putt from about 5-7 feet out. First, set two tees in the ground just wider than your putter head, creating a “gate” for your putter to swing through. Next, place a second gate of two tees about a foot in front of your ball, just wider than the ball itself.
You have two jobs here:
- Swing the putter head cleanly through the back gate without hitting either tee.
- Roll the ball perfectly through the front gate on its way to the cup.
If you nick any of the tees, you know exactly what went wrong. Hitting the back gate means your stroke path is off-line. Hitting the front gate means your putter face wasn’t square when it met the ball. The goal is to sink 10 consecutive putts without touching a single tee. This drill is fantastic for building the muscle memory for a square face and a reliable stroke.
Conquering Pressure with The Clock Drill in Golf
The 3-foot putt is arguably the most pressure-packed shot in golf. You’re supposed to make it, which makes a miss feel ten times worse. The Clock Drill is designed to make these nerve-wracking shorties feel completely automatic.
Start by placing four balls around the hole at a distance of 3 feet—think 12 o’clock, 3 o’clock, 6 o’clock, and 9 o’clock. Go through your full pre-shot routine for every single putt and sink all four in a row.
Once you’ve nailed that, expand the circle. Add four more balls at the 4-foot mark. Now your challenge is to make all eight putts consecutively. If you miss even one, you have to start over from the very beginning.
This drill does more than train your stroke; it trains your mind. The pressure ratchets up with each successful putt, forcing you to focus and execute—perfectly simulating that must-make putt on the 18th green.
Calibrating Feel with The Ladder Drill in Golf
While the Clock Drill has you covered on the short ones, the Ladder Drill is your key to dialing in speed and line from that tricky 6-to-15-foot range. This is where so many golfers bleed strokes.
Set up a “ladder” of putts by placing tees at 6, 9, 12, and 15 feet from the hole, all in a straight line. Start at the 6-foot tee and hole the putt. Once you make it, move back to the 9-foot tee and do the same.
The rule is simple: you can’t advance to the next “rung” of the ladder until you sink the putt from your current spot. The ultimate goal is to complete the entire ladder by making all four putts in a row.
This drill is brilliant because it constantly forces you to adjust your feel for distance while maintaining a consistent stroke. It teaches you how to marry the perfect line with the perfect speed—the magic combination for converting more birdie chances and saving those crucial pars.
Mastering Speed to Eliminate Three Golf Putts
Long putts are a completely different animal, and it’s where most amateurs get the objective all wrong. When you’re staring down a putt from 40, 50, or even 60 feet, the goal isn’t to be a hero and drain it. The real mission? Eliminate the dreaded three-putt.
This is where a strategic shift in your mindset from “making” to “lagging” will pay massive dividends on your scorecard. Your new focus is all about speed control. You want to roll the ball into a comfortable “gimme” zone—think of a 3-foot radius circle around the hole. Nailing this consistently turns potential double bogeys into easy pars. It’s about playing the percentages and respecting how tough the shot really is.
Let’s be honest with ourselves. Beyond 30 feet, the make percentage for any golfer plummets, typically falling below 5%. For example, even a 5-handicap golfer has a make rate from 24-30 feet of just 10.1%, and it gets much, much lower from there. You can discover more stats about putting make percentages to see just how rare these long bombs truly are.
This data proves that trying to hole every long putt is a waste of mental energy. Instead, let’s dive into some drills that will calibrate your internal GPS for perfect distance control.
Calibrating Your Feel with the Ladder Drill in Golf
The Ladder Drill is a classic for a reason—it’s hands-down one of the best ways to teach your body how to adjust the length of your stroke to control distance. It’s a simple, progressive exercise that gives you immediate feedback on your speed.
Here’s how to set it up:
- Find a relatively flat part of the practice green.
- Place five tees in a line away from the hole, starting at 15 feet and adding one every 5 feet (so you have tees at 15, 20, 25, 30, and 35 feet).
- Start at the closest tee (15 feet). Your goal is to hit three straight putts that finish past the hole but stay within three feet of it.
- Once you pull that off, move back to the next “rung” of the ladder (20 feet) and do it again.
This drill forces you to feel the subtle changes needed in your stroke for each distance. Pay close attention to how the length of your backswing and follow-through changes how far the ball rolls. The goal is to finish the entire ladder, which builds a deep-seated feel for speed that you can actually trust on the course.
The 3-Foot Circle Challenge in Golf
While the Ladder Drill is great for structured distances, this next one is about applying that feel from anywhere on the green. It trains you to consistently find that all-important “gimme” zone from long range, building the confidence that you can two-putt from anywhere.
For this drill, you’ll need three balls and about eight tees. Use the tees to create a physical 3-foot circle around the hole. This visual aid is huge—it turns an abstract goal into a real, tangible target.
Now, walk to a spot 30 feet from the hole. The challenge is to get all three of your balls to stop inside that circle. If even one ball finishes outside, you have to start over from that distance. Once you succeed, move back to 40 feet, and then finally to 50 feet.
This drill is a fantastic pressure simulator. The more balls you get inside the circle, the more you have to focus on executing that last one. It perfectly mimics that on-course feeling of needing to lag a long putt close to save your par.
Marrying Mechanics with Feel in Golf
Great lag putting is a beautiful blend of mechanics and artistry. The length of your putting stroke is your main mechanical lever for distance. A longer backswing and follow-through will naturally create more speed and send the ball farther. Part of your practice should be calibrating this, getting a feel for how a “hip-to-hip” stroke compares to an “ankle-to-ankle” one.
But mechanics alone won’t cut it, especially when you’re dealing with different green speeds and slopes. This is where feel and your ability to read the green come into play. Before every long putt, take a few practice strokes while looking at the hole, not the ball. This helps your brain subconsciously calculate the power needed. To really nail this, you need a solid process, and our guide on how to read greens provides a step-by-step approach to judging both break and speed.
Ultimately, mastering distance control is about building a reliable connection between what your eyes see and what your body does. By dedicating a chunk of every practice session to these lag putting drills, you’ll stop fearing long putts and start seeing them as easy two-putt opportunities to protect your score.
How to Structure a Purposeful Golf Practice Session
Knowing the right drills is only half the battle. To really make progress, you have to assemble them into a cohesive, purposeful practice session. Just showing up to the green without a plan is like heading into a round without a scorecard—you might hit some decent putts, but you have no real way of knowing what’s actually working.
A structured approach is what separates mindless ball-beating from genuine improvement. It guarantees that every single minute you spend on your golf putting practice has a clear goal, building your skills in a balanced way that shows up on the course. It’s the difference between just warming up and actively getting better.
Building Your Golf Practice Blueprint
The best practice session isn’t about how long you’re out there; it’s about the quality of that time. A focused 30-minute block can be far more valuable than a rambling hour of aimless putting.
The idea is to mix things up. You want to combine technical work (like the Gate Drill for a pure stroke) with drills that sharpen your feel and distance control (like the Ladder Drill). Then, cap it all off with a game that simulates the pressure of a real round. This variety keeps things interesting and ensures you’re developing every facet of your putting game.
The Power of Tracking Your Progress in Golf
If you’re not tracking your practice, you’re just guessing. Seriously. Keeping a simple log of how you perform in key drills gives you priceless feedback. It shines a spotlight on exactly where you’re improving and what still needs work.
This simple process helps you see your game objectively.
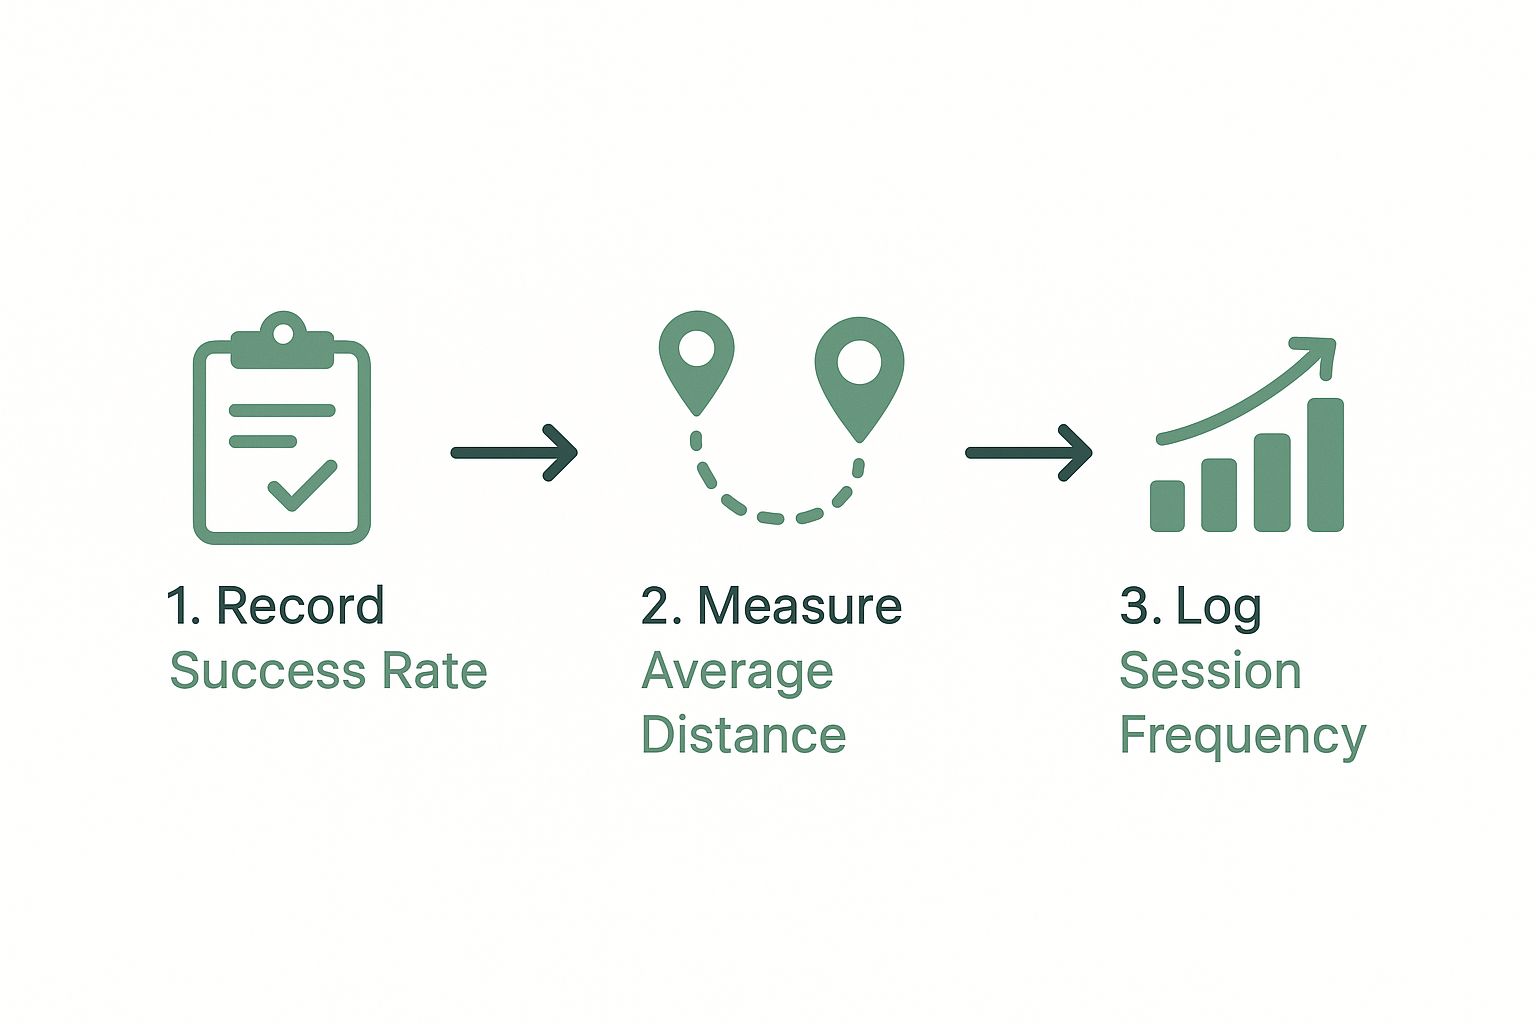
This data-driven approach takes the emotion and guesswork out of it. It lets you walk into your next session knowing precisely which weaknesses you need to target.
Sample 60-Minute Purposeful Golf Putting Practice Plan
So, what does a great session actually look like in practice? Here’s a blueprint you can use for a 60-minute block. It’s designed to cover all the bases, from fundamentals to pressure-packed finishing drills, ensuring you get a well-rounded and effective workout.
This table breaks down how to allocate your time for a balanced session that simulates the different challenges you’ll face on the course.
| Time Allotment (Mins) | Activity | Objective |
|---|---|---|
| 0-10 | Fundamentals Check | Use the Gate Drill from 5-7 feet. Your only goal is to groove a pure roll and build confidence by seeing the ball start on your intended line. |
| 10-25 | Short Putt Consistency | Perform the Clock Drill. Start with four balls at 3 feet, then expand to eight balls at 4 feet. Do not move on until you make them all consecutively. |
| 25-45 | Lag Putting Calibration | Set up and complete the Ladder Drill from 15, 20, 25, 30, and 35 feet. Focus intently on how the length of your stroke controls the ball’s speed. |
| 45-60 | Pressure Simulation Game | Play a competitive game. For example, try to two-putt or better from nine different spots around the green (18 holes). If you three-putt, you go back to the first hole. |
Following a structured plan like this transforms your time on the green. It’s no longer just a casual pastime; it’s a targeted training session. Every putt has a purpose, and you’re actively building the skills and mental toughness that show up when you’re standing over a must-make putt to save par.
Even if you only have 20 minutes, you can create a condensed version. Spend five minutes on fundamentals, ten on short putts, and five on lag putting. Consistency and purpose—no matter the duration—are what turn your practice time into lower scores.

FAQ’s
As you start putting in more structured work on the greens, you’re going to have questions. That’s a great sign—it means you’re thinking like a player who’s serious about getting better.
Let’s walk through some of the most common questions I hear. Getting these details right can make a huge difference in how fast you see real, lasting improvement.
How Often Should I Practice Putting to See Improvement?
This is the big one, and the answer is probably not what you expect: consistency always trumps duration. I’ve seen countless golfers get better faster with two or three focused 30-minute sessions a week than one marathon two-hour session on a Saturday.
The goal is to build feel and keep your stroke sharp. A long, drawn-out practice can lead to fatigue and bad habits. Even just 10-15 minutes a day on a putting mat at home does wonders for grooving a solid stroke.
Should I Use Putting Aids and Training Tools?
Absolutely, but they need to have a purpose. Don’t just collect gadgets. The real value of a good training aid is its ability to give you instant, honest feedback on things you can’t always feel yourself.
Putting Mirrors: Perfect for checking that your eyes are directly over the ball and your shoulders are square.
Gate Drills: Simply using two tees as a “gate” for the ball to roll through is one of the most effective ways to train a square putter face.
Putting Arcs: If you get a little too “handsy” or inconsistent with your stroke path, these can help you feel what a smooth, repeatable arc is supposed to be.
Use them to diagnose a specific issue and learn the feeling of doing it correctly. Then, step away from the aid and try to replicate that same feeling. That’s how the skill transfers to the course.
“Training aids are like a coach who can’t speak—they show you exactly what’s wrong without saying a word. Use them to learn the feeling of a perfect stroke, then work to own that feeling yourself.”
What Is More Important: Path or Face Angle?
While both are part of the equation, the science is clear on this: your putter’s face angle at impact is the king. It accounts for over 80% of the ball’s starting direction.
Think about it this way: you can have a slightly “off” stroke path, but if that putter face is perfectly square to your intended line when it meets the ball, you’ve given that putt its best possible chance. This is exactly why drills like the Gate Drill are so essential—they train the single most important factor in starting the ball on line.
How Do I Practice Reading Greens More Effectively?
Reading greens is part science, part art, but you can definitely practice the science part. Always look at a putt from at least two angles: from behind the ball to see the general line, and then from the low side of the hole. The view from the low side often reveals the true severity of the break much better.
Here’s a fantastic drill for this: On a breaking putt, find the apex—the highest point of the curve—and stick a tee in the ground there. Your only goal is to roll the ball over that tee with the correct speed. This drill forces you to commit to a specific line and teaches you to trust your read, which is a massive confidence booster on the course.
At Golf Inquirer, we believe that smarter practice leads to more enjoyment on the course. We’re dedicated to bringing you tips and insights that make a real difference in your game. Explore more and join our community at https://golfinquirer.com.