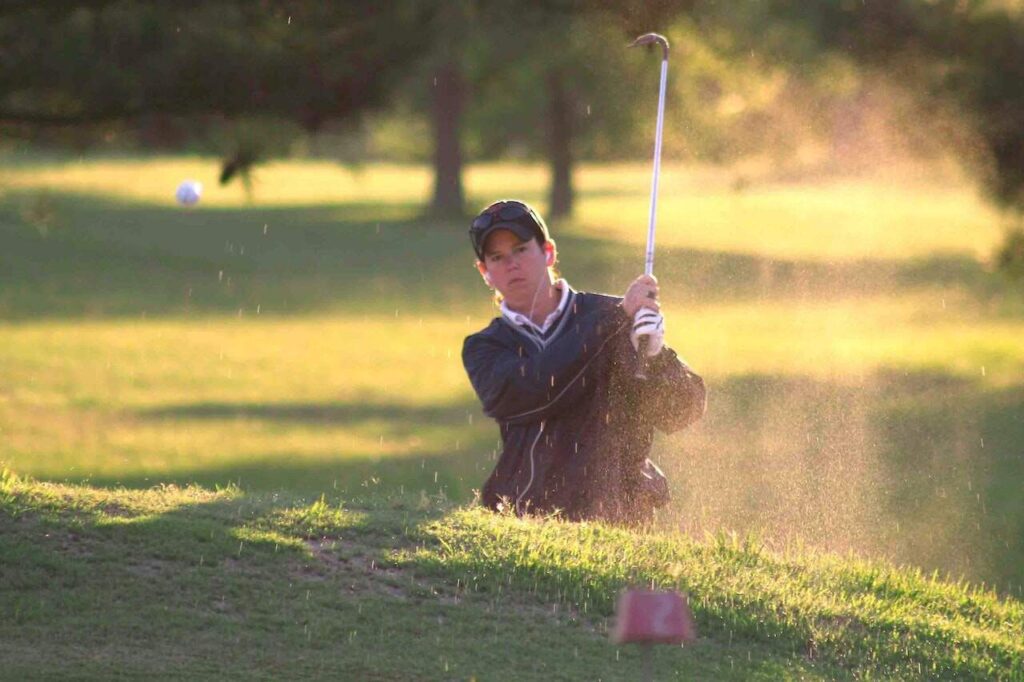
Every golfer wants to hit the ball further and more consistently. We drop cash on the latest drivers and obsess over swing mechanics, but often forget about the real engine behind a great shot: our core. Think of your core not as a six-pack, but as the central hub of power that stabilizes your spine and channels explosive energy from the ground, through your body, and into the clubhead. Incorporating golf core exercises into your routine can significantly enhance your performance.
A weak or unstable core is like trying to fire a cannon from a canoe—all that potential power fizzles out, leading to inconsistent strikes and lost distance. But a strong core? That’s your stable platform for the powerful rotation at the heart of the golf swing.
This guide cuts through the fitness noise to give you the essential golf core exercises that build the specific stability and rotational power you need on the course. Along with golf core exercises, a strong core is also your best defense against common golf injuries, especially in the lower back. For total spinal health, pairing these exercises with effective back stretch exercises for lower back pain relief will build a truly resilient foundation for your game.
Let’s break down the ‘why’ behind each movement and give you simple, step-by-step instructions. By the end, you’ll have a clear roadmap to building a core that supports a more powerful swing, reduces your risk of injury, and ultimately, helps you shoot lower scores.
Incorporating specific golf core exercises into your training regimen is vital for maximizing your performance on the course.
Each of the following golf core exercises targets essential muscle groups that enhance your game.
1. Dead Bug Exercise in Golf
Don’t let the silly name fool you; the Dead Bug is one of the most powerful and fundamental golf core exercises you can do. Its genius lies in its simplicity and its intense focus on anti-rotation—your core’s ability to resist twisting. This is the exact skill your core needs to stabilize your body during the violent, rotational movement of the golf swing, allowing you to transfer power efficiently from your legs to the clubhead.
You’ll lie on your back and extend the opposite arm and leg while forcing your torso and pelvis to remain absolutely still. This move trains the deep abdominal muscles (like the transverse abdominis) to brace and protect your spine. It perfectly mimics the disassociation needed in golf, where your lower body kicks off the downswing while your upper body lags slightly behind, creating that powerful whip-like effect.
Why It’s a Staple for Golfers
The Dead Bug is a cornerstone exercise in programs from leading golf fitness organizations like the Titleist Performance Institute (TPI). They use it in physical screenings to spot golfers who lack core stability, a common cause of swing faults like “early extension” or “loss of posture.” By mastering the Dead Bug, you’re building the foundational strength needed to maintain your spine angle and generate rotational power safely.
Key Insight: The point isn’t just to move your limbs; it’s to train your core to stop your torso from moving. This resistance is what builds a rock-solid platform for a powerful and consistent golf swing.
How to Perform the Dead Bug Correctly
Proper form is everything here. Follow these steps for perfect execution:
- Starting Position: Lie on your back with your knees bent at a 90-degree angle, shins parallel to the floor (the “tabletop” position). Reach your arms straight up toward the ceiling, directly over your shoulders.
- Brace and Press: Gently press your lower back into the floor. You should feel your deep abs engage. There should be no gap between your low back and the mat.
- Controlled Movement: Breathe out as you slowly lower your right arm and left leg toward the floor at the same time. Only go as low as you can without letting your back arch off the floor.
- Return and Repeat: Breathe in as you bring your arm and leg back to the start with the same slow, controlled motion. Repeat on the other side (left arm and right leg). That’s one rep.
Pro-Tip: Slow is smooth, and smooth is fast. Aim for a 3-second count on the way down and a 3-second count on the way up. Speed is your enemy here; control is the prize. Start with 2-3 sets of 5-8 reps per side.
2. Pallof Press in Golf
The Pallof Press is a sneakily difficult exercise that hits the bullseye on one of the core’s most important jobs in golf: anti-rotation. Named after physical therapist John Pallof, this move trains your core to fight rotational forces, which is crucial for holding your posture throughout the swing. By pushing a resistance band or cable away from your chest, you’re actively battling the urge to twist, building incredible isometric strength in your obliques and deep core muscles.
This exercise is a perfect simulation of the forces your body endures during a golf swing. As you transition from backswing to downswing, your core’s ability to resist opening up too early is what creates the “X-Factor” stretch—a major source of power. A strong anti-rotational core prevents common faults like swaying or coming “over the top,” leading to purer strikes and more clubhead speed.
Why It’s a Staple for Golfers
The Pallof Press is a foundational exercise in just about every elite golf performance center. It’s so effective that it’s a staple in the routines of Tour pros and is a standard part of strength programs for collegiate golf teams everywhere. It isolates the exact muscles needed to lock down your pelvis and torso, creating a solid base that lets your arms and shoulders rotate powerfully and freely.
Key Insight: The Pallof Press trains your core to be the calm anchor in the storm of the golf swing. The goal is to stay perfectly still while the resistance tries to yank you out of position, building the resilience you need for a powerful, repeatable motion.
How to Perform the Pallof Press Correctly
Mastering the form is key to feeling the burn in the right places. Follow these steps:
- Starting Position: Set a cable machine or anchor a resistance band at chest height. Stand sideways to the anchor point with your feet shoulder-width apart in an athletic stance. Grab the handle with both hands and bring it to the center of your chest.
- Brace and Engage: Squeeze your core, glutes, and lats. Your body should feel like a statue, with your shoulders and hips square and facing forward, resisting any pull from the band.
- Controlled Movement: Breathe out as you slowly press the handle straight out from your chest until your arms are fully extended. Fight the urge to rotate. Hold for a 1-2 second pause at the end.
- Return and Repeat: Breathe in as you bring the handle back to your chest with the same slow control. That’s one rep. Do all reps on one side before switching.
Pro-Tip: To make it even more golf-specific, perform the exercise from your actual golf stance. This will train your core to be stable in a position that translates directly to the course. Start with light resistance and aim for 2-3 sets of 8-12 reps per side.
3. Plank to T-Rotation in Golf
Ready to move beyond static holds? The Plank to T-Rotation introduces a dynamic rotational element that’s crucial for building a powerful and connected golf swing. This exercise is a two-for-one deal: it challenges your core to stay stable while your torso rotates, directly improving your control and power. It’s one of the most effective golf core exercises because it blends anti-extension (from the plank) with thoracic (mid-back) mobility—a magic combo for an efficient swing.
The move begins in a solid plank and flows into a side plank as you rotate your torso and reach one arm to the ceiling. This forces your obliques and deep core stabilizers to work together, preventing your hips from sagging or twisting out of control. This is exactly how your core should work in the golf swing: providing a stable base that lets your upper body rotate freely and powerfully around it.
Why It’s a Staple for Golfers
The Plank to T-Rotation is a favorite among top golf coaches and is often seen in the training routines of powerful players like Brooks Koepka. The exercise trains your body to separate your upper body from your lower body, a critical piece for creating the “X-Factor” stretch that stores and unleashes energy. By improving this separation and thoracic mobility, you can generate more clubhead speed without losing your balance, a concept that’s key to understanding how to improve your golf swing speed.
Key Insight: This exercise is about rotational control, not just raw strength. The goal is to rotate through your mid-back while keeping your hips and low back stable—the secret sauce for preventing common swing faults and lower back pain.
How to Perform the Plank to T-Rotation Correctly
Control and precision beat speed every time. Follow these steps to nail the movement:
- Starting Position: Get into a high plank with your hands directly under your shoulders and your feet hip-width apart. Squeeze your core, glutes, and quads to create a straight line from your head to your heels.
- Initiate the Rotation: Shift your weight onto your right hand. Begin to open your chest to the left, lifting your left hand off the ground. Let your eyes and head lead the turn.
- Full ‘T’ Position: Keep rotating until your left arm is pointing straight up to the ceiling, forming a “T” with your body. Your feet should pivot so you’re on the edges of your shoes. Hold this top position for a beat, feeling the stability.
- Controlled Return and Repeat: Slowly and with control, bring your left hand back down to the starting plank position. Repeat the movement on the other side. That completes one rep.
Pro-Tip: If a full plank is too tough, start by doing the exercise on your knees. As you get stronger, progress to your toes. For an advanced challenge, hold a light dumbbell in your moving hand to really test your core’s stability. Aim for 2-3 sets of 4-6 reps per side.
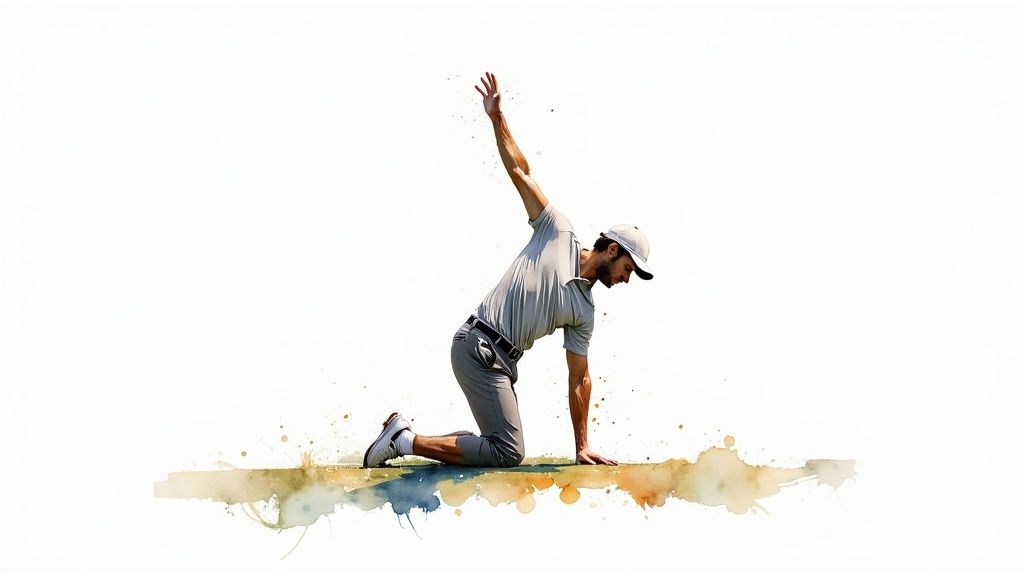
4. Bird Dog Exercise in Golf
As the perfect partner to the Dead Bug, the Bird Dog challenges your core stability from a different angle and is just as vital for a powerful, injury-free golf game. Its value lies in training your body to hold a stable, neutral spine while your limbs are moving. This is a direct parallel to the golf swing, where you must maintain your posture and spine angle through the powerful rotation of your hips and shoulders.
Performed on all fours, you’ll extend the opposite arm and leg while preventing any sagging or arching in your back. This movement trains your posterior chain—the glutes and spinal erectors—to work in sync with your deep abdominal muscles. Mastering this coordinated stability is a huge part of what makes golf core exercises so effective for your game.
Why It’s a Staple for Golfers
The Bird Dog is a foundational exercise championed by top spine experts like Dr. Stuart McGill and is a staple in both rehab and high-performance training programs. It directly addresses a common flaw in amateur golfers: the inability to stop the lower back from arching or rounding during the swing. By training your core to resist both extension and flexion, you build the endurance needed to hold your posture from the first tee to the 18th green.
Key Insight: The goal is to create one long, straight line from your fingertips to your heel while keeping your hips perfectly level. Imagine you have a glass of water on your lower back—your core’s job is to make sure it doesn’t spill a drop.
How to Perform the Bird Dog Correctly
Executing this move with precision is crucial for activating the right muscles. Follow these steps for perfect form:
- Starting Position: Start on all fours with your hands directly under your shoulders and your knees under your hips. Your back should be flat like a tabletop. Engage your core by pulling your belly button toward your spine.
- Brace and Extend: Keeping your neck long and in line with your spine, look down at the floor. Take a breath in to prepare.
- Controlled Movement: Breathe out as you slowly extend your right arm straight forward and your left leg straight back at the same time. Reach until they are parallel to the floor, focusing on keeping your hips square and your back flat.
- Hold and Return: Pause for a 2-3 second count at the top. Breathe in as you slowly and smoothly return your hand and knee to the starting position. Repeat on the other side (left arm and right leg) to complete one rep.
Pro-Tip: Think about “lengthening” your body, not “lifting” your limbs. Reach forward with your fingers and push back through your heel. This cue helps prevent you from arching your back. Aim for 2-3 sets of 8-12 reps per side.
5. Russian Twists Golf Exercise
While many exercises focus on resisting rotation, the Russian Twist directly trains the very movement that powers your golf swing. This classic move is one of the most dynamic golf core exercises because it builds rotational strength, endurance, and power, specifically torching your obliques. These are the muscles along the sides of your abs responsible for twisting your torso in the backswing and firing powerfully through impact.
The movement involves sitting on the floor, leaning back to fire up your core, and twisting your torso from side to side, often with a weight. This controlled rotation under tension strengthens the exact muscles and movement patterns you need to create a faster, more forceful golf swing. A strong rotational core helps you sequence the swing correctly, preventing your arms from taking over and leading to more consistency.
Why It’s a Staple for Golfers
The Russian Twist is a go-to in almost every modern golf fitness program, from amateur training plans to the routines of elite pros like Dustin Johnson. Its direct application to the swing makes it priceless. The exercise boosts your ability to separate your upper and lower body and then rapidly bring it all through, a key ingredient for generating clubhead speed. It also builds core endurance, helping you stay powerful through all 18 holes without getting tired.
Key Insight: The real magic isn’t just twisting; it’s learning to control the rotation from your core. This control prevents common swing faults like swaying or over-rotating, which bleed power and kill accuracy.
How to Perform the Russian Twist Correctly
Form is king with this exercise to maximize results and protect your lower back. Follow these steps:
- Starting Position: Sit on the floor with your knees bent and feet flat on the ground. Clasp your hands together or hold a medicine ball or dumbbell in front of your chest.
- Brace and Lean: Engage your core and lean back slightly until you feel your abs tighten up. Your torso should be at about a 45-degree angle to the floor. For a bigger challenge, lift your feet off the ground.
- Controlled Movement: Breathe out as you slowly twist your entire torso to the right, letting your arms and the weight follow. Aim to touch the weight to the floor beside your right hip. Try to keep your hips as still as possible.
- Return and Repeat: Breathe in as you return to the center with control, then breathe out as you twist to the left side. That’s one full repetition.
Pro-Tip: Don’t rush it. Focus on rotating with your obliques and torso, not just swinging your arms. Start with just your bodyweight to master the form before adding a light weight. Aim for 2-3 sets of 10-15 reps per side.
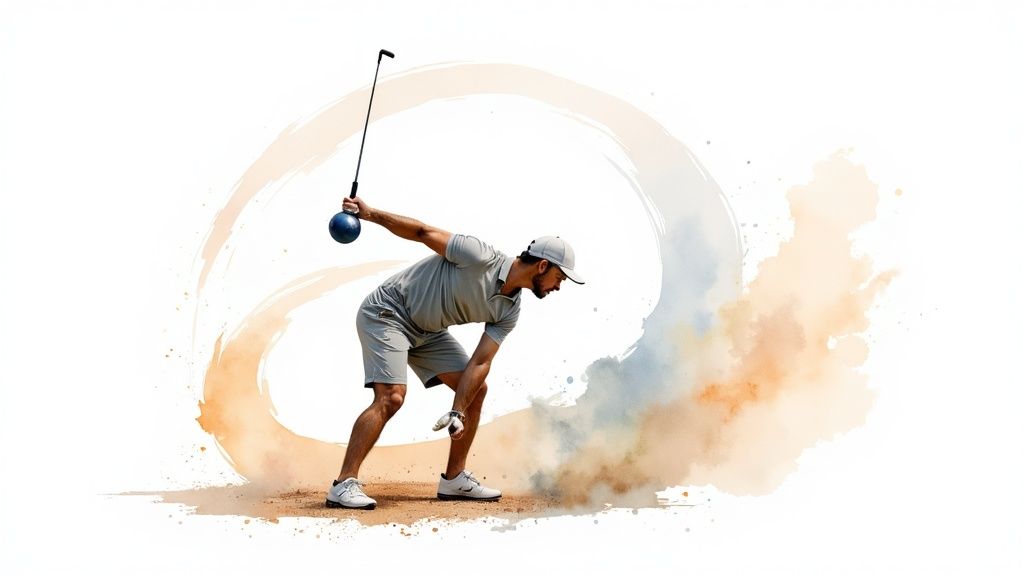
6. Medicine Ball Rotational Throws in Golf
If you want to build serious clubhead speed, you have to train for explosive power. Few golf core exercises do this better than Medicine Ball Rotational Throws. This dynamic movement is the bridge between foundational core strength and the high-velocity power of the golf swing.
The exercise involves powerfully throwing a medicine ball against a solid wall, perfectly mimicking the kinetic sequence of a golf swing: ground-up power, hip and torso rotation, and a forceful release. It trains your core not just to be strong, but to be fast and coordinated, teaching your muscles to fire in the right order for maximum impact. This is exactly why it’s a favorite drill for long-drive competitors and Tour pros looking to add yards.

Why It’s a Staple for Golfers
Medicine Ball Throws are a cornerstone in advanced golf fitness programs because they develop rotational power—the key to swing speed. Unlike static exercises, this drill is all about velocity. It supercharges the “stretch-shortening cycle” in your core muscles, letting you store and release energy more efficiently, just like coiling and uncoiling in your swing. This makes it the perfect move for golfers who have built a solid stability base and are now ready to add some serious horsepower.
Key Insight: The goal here is maximum intent and speed. You are training your nervous system to recruit muscle fibers as quickly and forcefully as possible, which is essential for unlocking your swing speed potential.
How to Perform Medicine Ball Rotational Throws Correctly
Proper form ensures you’re training for power, not for injury. Follow these steps for a safe and powerful throw:
- Starting Position: Stand sideways about 3-5 feet from a solid concrete or brick wall. Hold a medicine ball with both hands and get into your golf posture: feet shoulder-width apart, knees slightly bent, and spine neutral.
- The “Backswing”: Rotate your torso away from the wall, bringing the ball back just past your trail hip, much like the top of your backswing. Feel your hips and obliques load up.
- Explosive Throw: Fire from the ground up. Drive through your trail hip and rotate your torso and shoulders toward the wall, launching the ball with maximum force at your imaginary impact point.
- Follow Through and Reset: Let your arms and body follow through naturally after the release. Catch the ball on the rebound (if it’s safe) or pick it up and reset for the next rep.
Pro-Tip: Start with a lighter ball (6-10 lbs) to nail the form and speed before going heavier. Since this is a power exercise, keep the reps low (4-6 per side) and take plenty of rest between sets to make sure every throw is at 100% effort. For more ways to build power, you can learn more about how to practice golf at home.
Golf Core Exercises Comparison Chart
| Exercise | Implementation Complexity | Resource Requirements | Expected Outcomes | Ideal Use Cases | Key Advantages |
|---|---|---|---|---|---|
| Dead Bug Exercise | Low | None | Core stability, posture, injury prevention | Beginners to all levels | No equipment, easy to perform anywhere |
| Pallof Press | Moderate | Cable machine or resistance bands | Anti-rotation strength, swing consistency | Golfers seeking rotational control | Direct golf swing application, scalable load |
| Plank to T-Rotation | Moderate to High | None, optional dumbbells/bands | Rotational power and mobility, balance | Intermediate to advanced fitness | Combines stability with mobility, full-body |
| Bird Dog Exercise | Low | None | Core stability, balance, spinal posture | Beginners, rehab, posture focus | Low impact, easy form monitoring |
| Russian Twists | Low to Moderate | Optional weights (medicine ball, dumbbell) | Rotational strength and endurance | Core endurance, rotational training | Versatile, time-efficient |
| Medicine Ball Rotational Throws | High | Medicine ball, space | Explosive rotational power and clubhead speed | Advanced power development | Sport-specific, high intensity, fun |
Putting It All Together: Your Blueprint for a Stronger Golf Core
You now have a complete toolkit of powerful golf core exercises designed to build a more resilient and explosive swing from the inside out. We’ve gone way beyond generic sit-ups to focus on the three pillars of a golf-ready core: stability, anti-rotation, and rotational power. From the quiet control of the Dead Bug to the explosive force of Medicine Ball Throws, each move serves a clear purpose in making you a better athlete.
The journey from knowing these exercises to mastering them is about consistency, not intensity. The goal isn’t to crush yourself; it’s to achieve precision and control. Real progress happens in the quality of each rep, strengthening the mind-muscle connection that shows up on the golf course. A stronger core means less strain on your back, more efficient power transfer, and the endurance to play your best through all 18 holes.
Your Action Plan for a Powerful Golf Swing
Turning this knowledge into real results requires a simple plan. Don’t feel like you have to do all six exercises at once. Instead, build a routine that works for you.
Here’s a simple blueprint to get you started:
- Start Small and Build Momentum: Pick 2-3 exercises to begin. A great starting combo would be one for stability (like the Dead Bug), one for anti-rotation (like the Pallof Press), and one for dynamic rotation (like Russian Twists).
- Focus on Form First: Your number one priority is perfect execution. Aim for 2-3 sets of 8-12 reps. If your form breaks down, lower the reps. Quality will always beat quantity.
- Establish a Consistent Schedule: Weave your new core routine into your week 2-3 times, ideally on non-consecutive days to let your muscles recover. This could be part of a gym workout or a quick 15-minute session at home.
Remember, the power in your golf swing doesn’t come from your arms; it’s transferred through your core. By dedicating time to these specific golf core exercises, you are making a direct investment in lower scores, better consistency, and a longer, healthier golf life. If you’re looking to expand your routine, exploring the best core workouts for a stronger midsection can give you even more ways to challenge your stability and strength.
Your commitment to what you do off the course is the secret weapon that will unlock your potential on it. Now, go build that powerful, consistent swing from the inside out.
Ready to dive deeper into the mechanics of the game and find the gear that truly fits your swing? Visit Golf Inquirer for expert reviews, data-driven guides, and the latest insights to help you play smarter, not just harder. Explore Golf Inquirer today and take the next step in your golf journey.